
LinkedIn Headshot Poses That Actually Get You Noticed in 2026
Introduction
Your LinkedIn headshot pose shapes how strangers perceive your authority, warmth, and competence before they read a single word on your profile. We see this play out every week at our Times Square studio. The wrong pose makes talented executives look stiff or unapproachable. The right pose makes the same person look like someone worth knowing.
Some of the tips in this guide may sound obvious, but they are often overlooked and can make a significant difference in your professional image.


This guide is for PR and communications leads, HR teams building employer brands, founders, and executives who need professional headshots that work. We are not covering wardrobe or lighting here. This is purely about how you position your body and face to create a good LinkedIn headshot that earns clicks, connections, and callbacks. A high-quality LinkedIn headshot is essential for building a strong professional network, as it helps establish trust and approachability.
The most effective LinkedIn headshot poses combine confident body positioning with approachable facial expressions. A slight angle, relaxed shoulders, and direct eye contact create the foundation. Everything else is refinement.
By the end of this piece, you will understand the foundational poses that work across industries, know which variations suit your specific role, recognize mistakes that undermine your professional image, and have a clear plan for your next headshot session.
Understanding Professional Headshot Posing Fundamentals
Viewers form judgments about your professional credibility in under one second. That snap assessment comes almost entirely from body language and facial positioning. Your LinkedIn profile photo is doing heavy lifting before anyone clicks through to your experience section.
The features of a professional headshot—such as facial expression, hand placement, and posture—play a crucial role in conveying confidence and professionalism.
The psychology is straightforward. Body orientation signals openness or confrontation. Facial expressions communicate warmth or distance. Camera angle affects how authoritative you appear. Hand placement is a fundamental aspect of posing that can influence how polished and professional your image looks. Get these elements wrong and your professional LinkedIn headshot works against you. Get them right and your personal brand starts building trust immediately, as facial positioning and expression highlight your unique facial features and impact perception.
Body Orientation and Angles
Body orientation is crucial in setting the tone of your headshot. The way you angle your body can signal openness or confrontation, and even a subtle shift can make a significant difference in how you are perceived.
The Three-Quarter Turn
Good posture is the foundation of every flattering headshot. Drop your shoulders away from your ears. Lengthen your spine without going rigid. Distribute your weight evenly with feet shoulder width apart if standing.
The magic happens when you introduce subtle angles. Turning your body 30 to 45 degrees from the camera creates depth and visual interest—this is known as the Three-Quarter Turn. The Three-Quarter Turn involves angling your shoulders 30-45 degrees away from the lens. This simple adjustment slims the torso through foreshortening and mimics the natural appeal of candid photography. A straight-on pose can read as confrontational. The angled body with head turned back to camera reads as engaged and confident. For a more natural pose, tilt your head slightly rather than keeping it perfectly upright.
Leaning In and Chin Position
Lean in fractionally toward the lens. The Slight Lean-In involves tilting your upper body about an inch toward the lens to signal active listening. This tiny shift projects warmth and creates face-neck separation that photographs beautifully. Push your chin slightly forward and down. This defines the jawline and eliminates the soft area under the chin. It feels awkward in the moment but looks natural in the image.
Eye Contact and Expression
The balance between approachability and authority depends on your industry and personal style. A finance executive might favor a subtle, confident expression. A healthcare professional needs visible warmth. A startup founder can afford more personality.
Direct eye contact is non-negotiable for corporate headshots NYC. Looking away from the camera works for actors but kills credibility in the professional world. Hold the lens with your eyes. This creates instant connection with anyone viewing your LinkedIn profile picture.
A genuine smile makes all the difference for many roles. Not the frozen grin of someone holding a pose too long. A real smile that reaches your eyes. Some clients benefit from what we call the squinch. The "squinch" technique involves narrowing the eyes slightly to project confidence.
Your face should fill roughly 60 percent of the frame. This matters especially for mobile viewing where 70 percent of LinkedIn profile views happen. A distant shot dilutes recognizability. You want to be the only person in frame and immediately identifiable.
Preparing for a Headshot Session
Preparing for your headshot session is the first step toward capturing a LinkedIn headshot that truly represents your personal brand.
Makeup plays a key role in headshot photography. Opt for natural makeup to achieve a polished, professional look that enhances your features without overpowering. Avoid too much makeup, as it can appear unprofessional or distract from your authentic self.


Choose a hairstyle that reflects your usual look and make sure your hair is neat and styled appropriately for the session. Select clothing colors that complement your skin tone; for example, those with fair skin should avoid colors that blend too closely with their complexion to ensure a flattering contrast.
You may choose to wear jewelry, but keep it subtle—simple jewelry like studs or a delicate pendant can enhance your look without distracting from your face. For woman wear, select outfits that align with your industry and personal brand to convey professionalism and trust.
Working with a professional photographer or experienced photographer ensures you receive expert guidance and high-quality results for your LinkedIn headshot.
Choosing Your Attire
Start by considering the impression you want to make on your LinkedIn profile—think about your industry, your role, and how you want to be perceived. The best choice of attire depends on your profession and the impression you want to convey. Attire expectations can vary across different industries, so it's important to research what is appropriate for your field. Your clothing should reflect your profession and help communicate your professional identity. Choose professional attire that aligns with your personal style, but avoid busy patterns that can distract from your face. Solid colors are a good bet, as they help you stand out and keep the focus on you.
When selecting your outfit, consider the culture of your industry and the message you want to send. A subtle pop of color or a tasteful accessory can add personality without overwhelming your look. Avoid low resolution images by ensuring your clothing is well-fitted and free of wrinkles or visible wear. If you’re unsure, use the session planning stage to test a few options in advance. Ultimately, your wardrobe should help you create an image that feels both professional and authentically you.
Practicing Your Pose
Before your photo shoot, take a few minutes to practice your smile and poses in front of a mirror. This will help you feel confident and relaxed when it's time for your headshot session. Remember, a good LinkedIn headshot is more than just a photo—it's your chance to make all the difference in a first impression. Approach your session with intention, and let your professionalism and personality shine through. The preparation you put in now will pay off every time someone views your LinkedIn profile.
Personal Branding and Headshots
Your professional headshot is more than just a photo—it’s a powerful tool for personal branding that can set you apart in a crowded marketplace. In today’s digital-first world, your image is often the first thing potential employers, clients, and colleagues see, long before you have a chance to introduce yourself in person. A great headshot instantly communicates your professionalism and helps create a strong first impression that lingers in the minds of those who view your LinkedIn profile or company website.
The difference between a standard photo and a professional headshot is the intention behind it. A thoughtfully crafted headshot is designed to reflect your unique professional image and the qualities you want to be known for—whether that’s confidence, approachability, creativity, or leadership. This image becomes a visual anchor for your personal brand, reinforcing your reputation every time someone encounters your profile.
When you invest in a professional headshot, you’re not just updating your LinkedIn profile—you’re actively shaping the impression you make on potential employers and clients. The right headshot can open doors, spark conversations, and help you create meaningful connections in your industry. Remember, your headshot is often your first handshake in the digital world. Make it count by choosing an image that truly represents who you are as a professional and the difference you want to make.
Essential LinkedIn Headshot Poses
These core poses work across industries and professional levels. Master these fundamentals and you have everything you need for a professional image that opens doors.
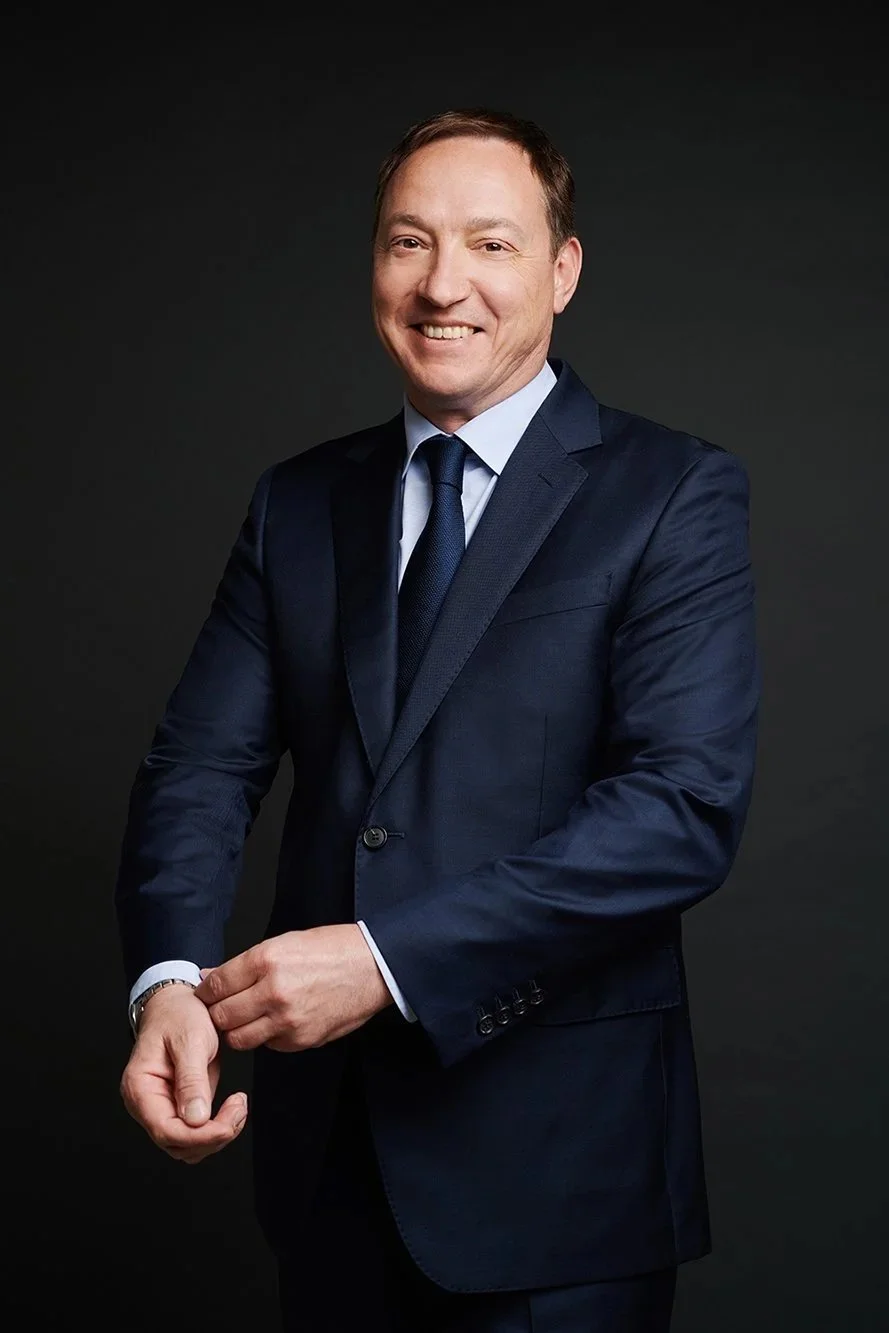
The Executive Classic
Position your shoulders square to the camera with direct eye contact. Keep your arms relaxed at your sides or just out of frame—hand placement here is key for a polished, professional look. This pose projects authority and decisiveness. It works well for C-suite executives, attorneys, and finance professionals who need to communicate power.
The risk is appearing too intense or intimidating. Soften this pose with a slight smile or the subtle squinch mentioned earlier. Drop your shoulders and breathe before the shutter clicks. Tension shows up immediately in photographs.
This pose is a good bet for leadership portraits and press day shots where you need to project command. It says I am in charge without saying I am unapproachable.
This pose contributes to a professional portrait that captures your personality and professionalism.
The Confident Angle
Turn your body 45 degrees away from the camera. Rotate your head back toward the lens. Keep your shoulders dropped and relaxed. This is the single most flattering pose for executive portraits and works beautifully in our studio or for on location headshots NYC.
The three-quarter turn creates depth and dimension. It slims the torso naturally. It adds visual interest without sacrificing professionalism. I recommend this pose to 80 percent of our clients because it works for every face shape and body type.
The key is getting the head rotation right. Turn too far and you lose the direct connection with the viewer. Turn too little and you lose the flattering angle. Clear direction during the session helps you find the precise positioning quickly.
This pose also helps create a professional portrait that highlights both confidence and approachability.
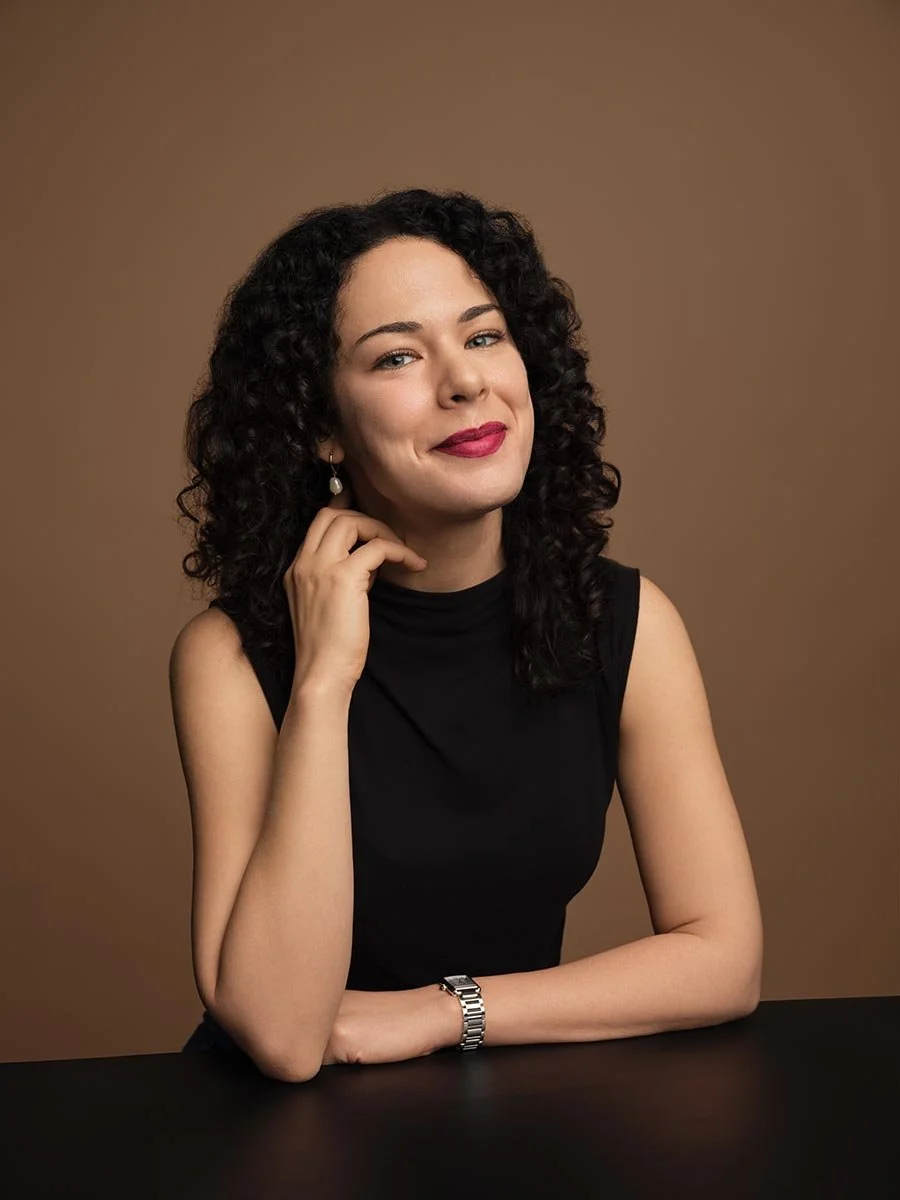
The Approachable Professional
Lean in slightly toward the camera. Drop one shoulder lower than the other for a relaxed asymmetry. Add a slight tilt of your head. This pose communicates warmth and accessibility while maintaining professionalism.
The subtle head tilt works particularly well for roles that require visible empathy. Healthcare professionals, HR leaders, and client-facing executives benefit from this variation. Keep the tilt to about 5 degrees. Any more and it starts to look uncertain rather than friendly.
This pose creates a natural look that lets your personality shine through. Combined with a friendly smile and direct eye contact, it builds trust with potential employers and collaborators viewing your LinkedIn profile.
This approach results in a portrait that feels genuine and inviting.
Investing in professional photos ensures your LinkedIn headshot meets industry standards and makes a strong impression. For inspiration, review headshot examples from your industry to see how different poses, attire, and styles can help you create an effective portrait for your LinkedIn profile.
The Importance of Eye Contact in a LinkedIn Profile Photo
Eye contact is one of the most powerful elements of a LinkedIn profile photo. When you look directly into the camera, you create an immediate connection with potential employers, clients, and anyone viewing your profile. This simple gesture conveys confidence, trustworthiness, and approachability—qualities that make a strong first impression in the professional world.
To maximize the impact of your headshot, focus your gaze just above the camera lens and let your eyes engage naturally. A slight tilt of your head or a gentle, genuine smile can soften your expression and make you appear more inviting. Remember, your profile photo is often the first thing people notice on your LinkedIn profile, so let your eye contact do the work of building rapport before you even say a word. With the right eye contact, your headshot becomes more than just a photo—it becomes a tool to create meaningful professional connections.
Advanced Posing Techniques and Industry Variations
Once you understand the fundamentals, you can adapt poses to match your industry and personal brand. Consider your current career stages—whether you are a new graduate, mid-career professional, or senior executive—as headshot poses and styles should be tailored to different career stages to align with your experience and goals. For example, new graduates may opt for approachable, energetic poses, while senior executives might choose more authoritative, composed stances.
Incorporating modern posing and styling techniques ensures your headshot looks current and relevant, helping you stand out in today’s competitive market. Make sure your headshot reflects your professional identity and the image you want to project on LinkedIn and other platforms. Confident body language and expression can highlight your skills, reinforcing your credibility. Adapting your pose to your specific industry and role helps you make a great first impression, setting the tone for successful networking and career opportunities.
The goal is authenticity within professional boundaries.
Creative Industry Adaptations
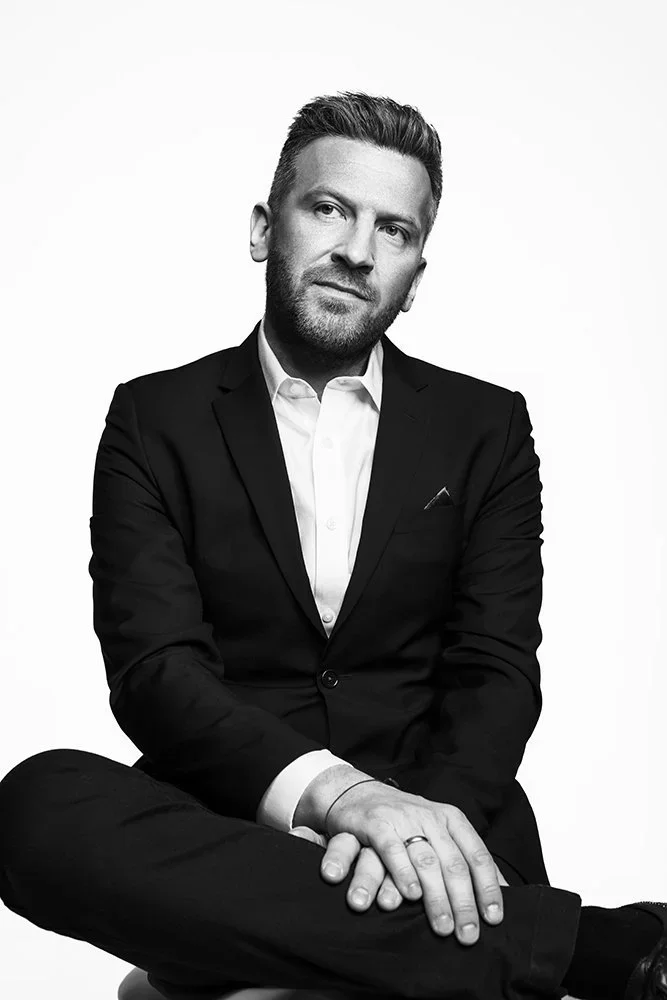
Creative professionals can push further into personality without losing credibility. Try a more pronounced lean against an imaginary surface. Position one shoulder closer to camera for dynamic asymmetry. Let your arms relaxed at your sides with a casual hand in pocket if the crop allows.
The relaxed asymmetrical pose works well for designers, marketers, and tech founders. It signals creative thinking and approachability. Keep your spine lengthened and chin slightly forward even as you relax the overall posture.
For team headshots in creative agencies, some variation across individuals helps while maintaining a cohesive feel. We often shoot several poses per person during a photo session so we can match energy across the group photo while honoring individual style.
Corporate Executive Variations
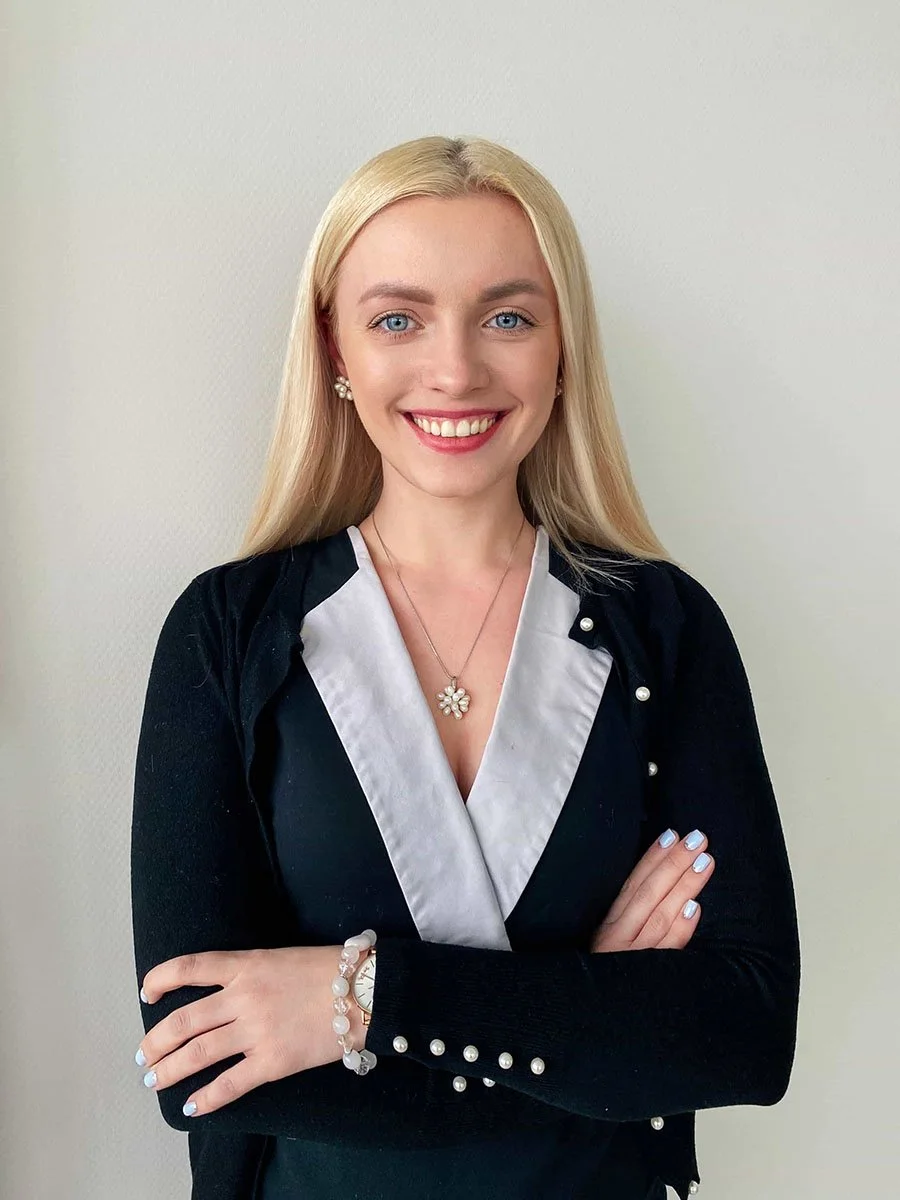
Traditional corporate environments call for more restrained variations. The confident angle with minimal tilt projects leadership. A slight lean in adds warmth without sacrificing authority. Avoid busy patterns in your clothing and stick to solid colors that keep focus on your face.
Arms crossed loosely can work for senior executives when softened by a genuine expression. This pose conveys confidence and charisma. The key word is loosely. Rigid crossed arms read as defensive rather than powerful.
For same day headshots NYC when executives need updated LinkedIn photos between meetings, we focus on these reliable variations. They photograph quickly and consistently deliver a professional LinkedIn headshot that serves multiple platforms including company website and social media platforms.
Industry Comparison Table
| Factor | Traditional Corporate | Creative Fields | Startup Environment |
|---|---|---|---|
| Body Angle | 30-45 degrees | 45+ degrees acceptable | 45 degrees with personality |
| Expression | Subtle confidence | Warm with personality | Approachable energy |
| Formality | High | Medium | Casual professional |
| Recommended Pose | Executive Classic or Confident Angle | Approachable Professional with variations | Confident Angle with relaxed elements |
Using a Streamlined Workflow for LinkedIn Headshots
If you are short on time or need a more flexible process, a streamlined workflow can help you update your LinkedIn headshot efficiently without losing polish, especially when you book a headshot session online. Booking a professional headshot session can streamline the process and ensure you receive high-quality, authentic images that enhance your professional branding and online presence. The key is consistency in framing, expression, styling, and final delivery. With the right process, you can create a professional image that reflects your personal brand and professional style while keeping production fast and manageable.
LinkedIn headshots cost can vary depending on the photographer, location, and the services included, such as outfit changes or the number of final images. Headshots cost is an investment in your professional brand and can range from budget options to premium studio experiences.
This approach is especially useful for busy professionals who need an updated LinkedIn headshot quickly or want to refresh their profile photo regularly. While more time always allows for more variation, a focused workflow can still produce a polished, professional image that stands out on LinkedIn and other platforms. It is a practical solution for strengthening your professional brand and making a memorable first impression.
Common Posing Mistakes and Solutions
We see the same errors repeatedly in LinkedIn headshot sessions. One common mistake is using harsh lighting, which can create unflattering shadows and reduce the professionalism of your headshot. A poor headshot can negatively impact your chances of landing a job or being selected for a job interview, as potential employers often form first impressions based on your profile image. These fixes are simple once you know what to look for.
For your LinkedIn profile picture, always use high-resolution images to ensure clarity and a professional appearance.
Choose a simple background for your headshot to avoid distractions and keep the focus on your face.
The Overly Casual Trap
Mistake: Leaning too far or letting your shoulders collapse signals low energy rather than relaxed confidence.
Solution: The solution is engagement. Think of leaning toward something interesting rather than slumping away from something boring. Keep your core gently activated even as you relax your face and shoulders.
This mistake shows up often in remote headshots when people are photographing at home without clear direction. The camera feels natural and they drift into everyday posture. Stand up straight, drop your shoulders, lean in a fraction, then hold.
The Intimidation Factor
Mistake: A direct stare with squared shoulders and no warmth creates an unapproachable first impression. This is common in executive portraits where leaders want to project strength but overshoot into severity.
Solution: Soften with your eyes. Think of something that genuinely amuses you right before the shutter clicks. Let the corners of your mouth lift slightly even if you are not delivering a full smile. The goal is a look that says I am competent and I am human.
The Awkward Hand Problem
Mistake: Hands create more bad headshots than any other element. Visible hands need purpose. A casual thumb hooked in a pocket works. Hands clasped naturally in front works. Hands dangling awkwardly at sides does not work.
Solution: For most LinkedIn profile photo crops, the simplest solution is keeping hands out of frame entirely. Focus on the head and shoulders. Let your arms relaxed at your sides below the crop line. If hands must appear, give them something to do. Hold glasses lightly. Rest fingertips on a surface. The moment hands look purposeless, they distract from your face.
Soft lighting is preferred for headshots, as it creates a flattering and professional appearance by avoiding harsh shadows.
Always use a solo photo for your LinkedIn headshot—using a group photo can create confusion about which person is you and makes it harder for viewers to identify you.
Next Steps After Your Photo Session
Once your photo session is complete, take the time to carefully review your images and select the headshots that best capture your professional brand and personal style. Look for photos with flattering lighting, natural poses, and expressions that make you feel confident. Your chosen headshot should reflect the image you want to project on your LinkedIn profile and across all your social media platforms.
After selecting your favorite photo, update your LinkedIn profile picture to ensure consistency and professionalism. A cohesive profile picture across platforms strengthens your professional brand and helps you make a lasting first impression. Remember, your headshot is more than just a picture—it's a key part of your online presence and can open doors to new career opportunities. By investing in a professional LinkedIn headshot and keeping your profile up to date, you set yourself up for success in the professional world.
Conclusion and Next Steps
The fundamentals are simple. Turn your body slightly. Push your chin slightly forward and down. Drop your shoulders. Lean in. Make eye contact. Smile naturally or hold a confident expression. These elements combine to create a flattering headshot that projects professionalism and warmth.
Your immediate action steps are straightforward. Practice these poses in front of a mirror to feel confident before your session. Assess your current LinkedIn profile picture against these principles. Plan a session with a team that can guide you through the nuances.
If you need corporate headshots NYC, executive portraits, team headshots, or same day headshots NYC, send your scope and timing to or reach out through our contact page for Match Production NYC. We shoot at our Times Square studio and offer on location headshots NYC when that works better for your schedule.
For more tips on wardrobe selection and natural light considerations, those guides are coming soon. The pose is the foundation. Everything else builds on getting your body and face positioned to create that critical first impression.